
Internationalization (i18n) in Next Js 13 using App router and next-intl
Unlock Global Reach with Internationalization: Learn How to Implement Multilingual Content in Next.js 13


Internationalization empowers you to seamlessly present your website's content in multiple languages. This will make your website more adaptable to different parts of the world and will allow you to reach more people who are unlikely to know the language of your website.
In this comprehensive blog post, I'll guide you through the process of crafting a multilingual website using Next.js 13, with a focus on the App router. This will be done by using next-intl and building a custom internationalization.
Getting Started
To begin, we will use the commands below to install a new next.js app to kick off our project.
Run the following commands on your terminal.
npx create-next-app@latest
On installation, you'll see the following prompts:
What is your project named? my-app
Would you like to use TypeScript? No / Yes
Would you like to use ESLint? No / Yes
Would you like to use Tailwind CSS? No / Yes
Would you like to use `src/` directory? No / Yes
Would you like to use App Router? (recommended) No / Yes
Would you like to customize the default import alias? No / Yes
What import alias would you like configured? @/*
Nextjs will generate a new project called my-app.
Open your preferred code editor, and type the command below in the terminal to launch your program.
npm run dev
Creating the boilerplate for our project
Setting up the app directory
Navigate to the
appfolder and openpage.tsx.Delete all the contents of the return statement and leave only the
<main>tag.export default function Home() { return ( <main className=''> </main> ) }Now, create a new folder within the
appcalled[locale]. This is a dynamic route that will be used to keep track of the language or locale we are currently in.Move the
page.tsxandlayout.tsxinto the newly created[locale]folder. Below is what our new folder structure should look like.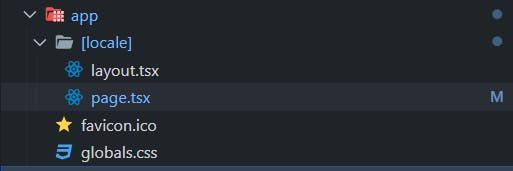
Creating the locales
In this phase, we will create a JSON file to store our languages or locales.
On the root of our app, create a new folder called
languages.Inside the
languagesfolder, create two new files calleden.jsonandfr.json.The
en.jsonis going to store our English translations andfr.jsonthe French translation.Open the
en.jsonand add the content below{ "Index": { "title": "Hello world!" } }Inside the
fr.json, add the translation below.{ "Index": { "title": "Bonjour le monde!" } }Create a
not-found.tsxpage in the same[locale]folder and add the following code inside.'use client'; import Error from 'next/error'; export default function NotFound() { return ( <html lang='en'> <body> <Error statusCode={404} /> </body> </html> ); }
- Go back to the root of our app and create a new file called
middleware.tsx. This file will be used throughout the project.
Implementing Internationalization using next-intl
next-intl is a library that makes it simple to add localization to our project. It was also recommended in the official Nextjs manual.
To install the library, run the command below.
npm install next-intl
To implement the internationalization, follow the steps below:
Open the middleware.tsx and paste the code below
  import createMiddleware from 'next-intl/middleware';

  export default createMiddleware({
      // A list of all locales that are supported
      locales: ['en', 'fr'],

      // If this locale is matched, pathnames work without a prefix (e.g. `/about`)
      defaultLocale: 'en',
  });

  export const config = {
      // Skip all paths that should not be internationalized. This example skips the
      // folders "api", "_next" and all files with an extension (e.g. favicon.ico)
      matcher: ['/((?!api|_next|.*\\..*).*)'],
  };
Next, Open the
layout.tsxinside[locale]and replace all the code with the one below. I will put an explanation as comments to help you understand what's happening in the code.import '../globals.css'; import type { Metadata } from 'next'; import { Inter } from 'next/font/google'; import { NextIntlClientProvider } from 'next-intl'; import { notFound } from 'next/navigation'; const inter = Inter({ subsets: ['latin'] }); export const metadata: Metadata = { title: 'Create Next App', description: 'Generated by create next app', }; // generateStaticParams is used to create static parameters to help nextjs, // understand all the possible parameters we will pass as our locale. export async function generateStaticParams() { return ['en', 'fr'].map((lng) => ({ lng })); } // We extract our params called locale which is based on the // dynamic folder we created earlier and pass it as a lang property in the html tag export default async function RootLayout({ children, params: { locale }, }: { children: React.ReactNode; params: { locale: string }; }) { // the try block below loads our JSON files and // it's passed to the NextIntl Provider as messages let locales; try { locales = (await import(`../../languages/${locale}.json`)).default; } catch (error) { // this is a 404 page function provided by nextjs notFound(); } return ( <html lang={locale}> <body className={inter.className}> <NextIntlClientProvider locale={locale} messages={locales}> {children} </NextIntlClientProvider> </body> </html> ); }Finally, open
page.tsx, where we will translate our page using theuseTranslation()function provided bynext-intl.On this page, we also added a basic button layout that allows us to change our language by modifying our url to move between languages or locales.
'use client'; import { useLocale, useTranslations } from 'next-intl'; import { usePathname, useRouter } from 'next/navigation'; import { startTransition } from 'react'; export default function Home({ params: { locale }, }: { params: { locale: string }; }) { const t: any = useTranslations('Index'); const currentLocale = useLocale(); const router = useRouter(); const pathname = usePathname(); const changeLanguage = (language: string) => { if (!pathname) return '/'; const segments = pathname.split('/'); segments[1] = language; const newUrl = segments.join('/'); startTransition(() => { router.push(newUrl); }); }; return ( <main className='flex flex-col justify-center items-center h-screen space-y-10 my-auto'> <div className='flex items-center space-x-5'> <button className={`border border-white px-5 py-3 ${ currentLocale === 'en' && 'bg-white text-black' }`} onClick={() => changeLanguage('en')} > EN </button> <button className={`border border-white px-5 py-3 ${ currentLocale === 'fr' && 'bg-white text-black' }`} onClick={() => changeLanguage('fr')} > FR </button> </div> <div>{t('title')}</div> </main> ); }useTranslation()only accepts one argument.useTranslation()reads a "key: value" (pronounce it "key to value") phrase from the JSON files of our translation.
We provide it the initial key for each item in the JSON file, and we can uset('title')in this case to map over the nested title in our JSON file.{ "Index": { "title": "Hello world!" }, "Footer": { "quick-links": "Quick Links", "links": { "home":"Home", "about":"About" } } }I added another section in our JSON called
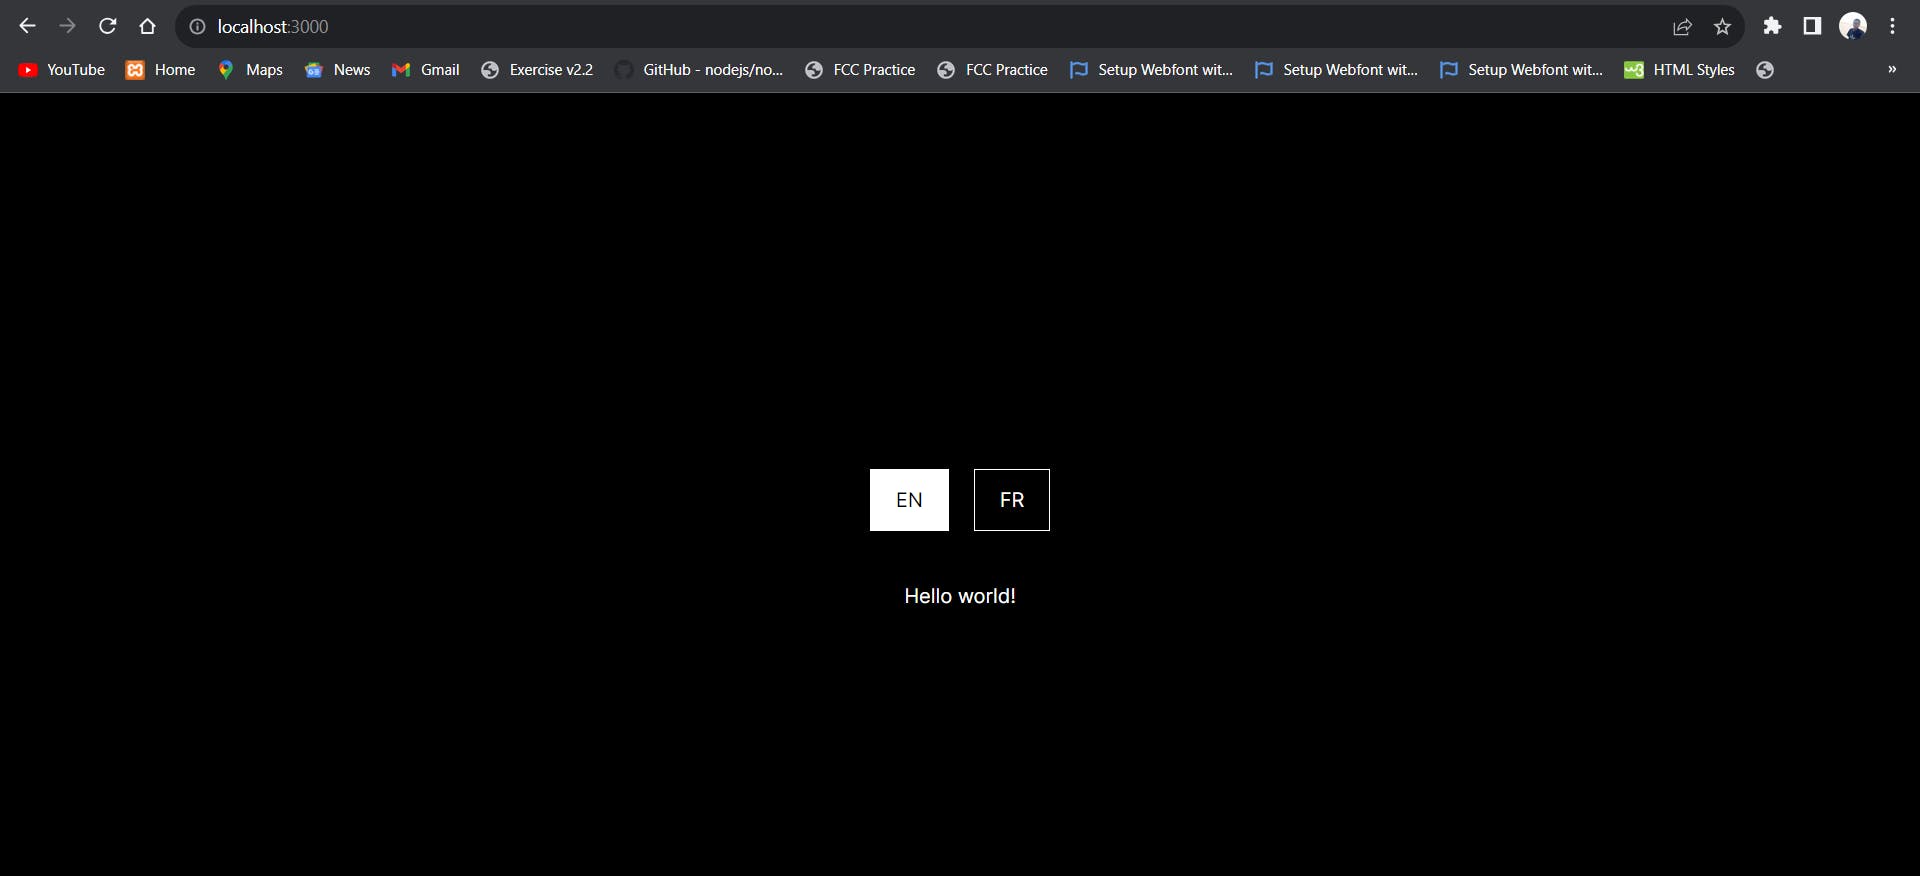
Footerwhich will serve as a new key that can be passed as a parameter touseTranslation()in another different component (e.g the footer component). To get into the nested JSON when writing our code, we can use a.operator on thet('links.home').Open your browser and you shall see a screen like the below and test your app.
That's all you will need to get started with next-Intl as your internationalization tool in Nextjs 13 using the App router. For more information you can visit the official docs and the complete code for this implementation can be found here.
Creating a Custom Internalization in Nextjs 13
If you choose not to utilize the next-Intl library, you may still uniquely translate your app by following the instructions in this section of the blog post.
On the root of our app, create a new file i18n-config.ts and paste the code below into it. It will contain our locales and it should be exported as a type.
  export const i18n = {
      defaultLocale: 'en',
      locales: ['en', 'fr'],
  } as const;

  export type Locale = (typeof i18n)['locales'][number];
Open the
middleware.tsxwe created in our boilerplate code and put the following code.import { NextResponse } from 'next/server'; import type { NextRequest } from 'next/server'; import { i18n } from './i18n-config'; import { match as matchLocale } from '@formatjs/intl-localematcher'; import Negotiator from 'negotiator'; function getLocale(request: NextRequest): string | undefined { // Negotiator expects plain object so we need to transform headers const negotiatorHeaders: Record<string, string> = {}; request.headers.forEach((value, key) => (negotiatorHeaders[key] = value)); // @ts-ignore locales are readonly const locales: string[] = i18n.locales; // Use negotiator and intl-localematcher to get best locale let languages = new Negotiator({ headers: negotiatorHeaders }).languages( locales ); const locale = matchLocale(languages, locales, i18n.defaultLocale); return locale; } export function middleware(request: NextRequest) { const pathname = request.nextUrl.pathname; // Check if there is any supported locale in the pathname const pathnameIsMissingLocale = i18n.locales.every( (locale) => !pathname.startsWith(`/${locale}/`) && pathname !== `/${locale}` ); // Redirect if there is no locale if (pathnameIsMissingLocale) { const locale = getLocale(request); // e.g. incoming request is /products // The new URL is now /en-US/products return NextResponse.redirect( new URL( `/${locale}${pathname.startsWith('/') ? '' : '/'}${pathname}`, request.url ) ); } } export const config = { // Matcher ignoring `/_next/` and `/api/` matcher: ['/((?!api|_next/static|_next/image|favicon.ico).*)'], };From the code above you will realize we have two new packages we have not installed in our project. So go ahead and type the following command to install the new packages.
npm install negotiator @formatjs/intl-localematcherWe have two primary functions in middleware.ts. The
getLocale()function retrieves the user locale from an HTTP request using the negotiator package (An HTTP content negotiator for Node.js). This will allow us to execute efficient internationalization on the server component.The other package, @formatjs/intl-localematcher, is used to assist us in matching and ensuring that we are passing the right type as specified in our i18n-config.ts.
The
middleware()function validates that our url contains a valid locale; otherwise, it redirects to the default locale.We will add a new file called
get-locales.tsto the root of our project.This program will simply import our JSON from the languages folder and dynamically feed it to a function
getLanguage(), which will be used throughout our application whenever the content of a language JSON file is required.import 'server-only'; import type { Locale } from './i18n-config'; const languages: any = { en: () => import('./languages/en.json').then((module) => module.default), fr: () => import('./languages/fr.json').then((module) => module.default), }; export const getLanguage = async (locale: Locale) => languages[locale]?.() ?? languages.en();Install the new package
server-onlywhich will help us serve this component only on server side.npm install server-onlyNavigate and go inside the
[locale]folder and openlayout.tsxand add the following code into it.import type { Metadata } from 'next'; import { Inter } from 'next/font/google'; import '../globals.css'; const inter = Inter({ subsets: ['latin'] }); export const metadata: Metadata = { title: 'Create Next App', description: 'Generated by create next app', }; // generateStaticParams is used to create static parameters to help nextjs, // understand all the possible parameters we will pass as our locale. export async function generateStaticParams() { return ['en', 'fr'].map((lng) => ({ lng })); } // We extract our params called locale which is based on the // dynamic folder we created earlier and pass it as a lang property in the html tag export default async function RootLayout({ children, params: { locale }, }: { children: React.ReactNode; params: { locale: string }; }) { return ( <html lang={locale}> <body className={inter.className}>{children}</body> </html> ); }Open the
page.tsxfile and add the following code.import { getLanguage } from '@/get-locales'; import { Locale } from '@/i18n-config'; import LocaleSwitcher from './components/switcher'; export default async function Home({ params: { locale }, }: { params: { locale: Locale }; }) { const language = await getLanguage(locale); return ( <main className='flex flex-col justify-center items-center h-screen space-y-10 my-auto'> <LocaleSwitcher locale={locale} /> <div>{language['Index'].title}</div> </main> ); }This component calls the
getLanguage()we initially created. It takes our locale as a parameter which it uses to determine which language translation to fetch.You will also realize we have a new component called <LocaleSwitcher /> which that accepts our locale as a prop. Create a new folder named components and a new file called switcher.tsx beneath the
[locale]folder to construct the component.Inside the newly created file, paste in the following code.
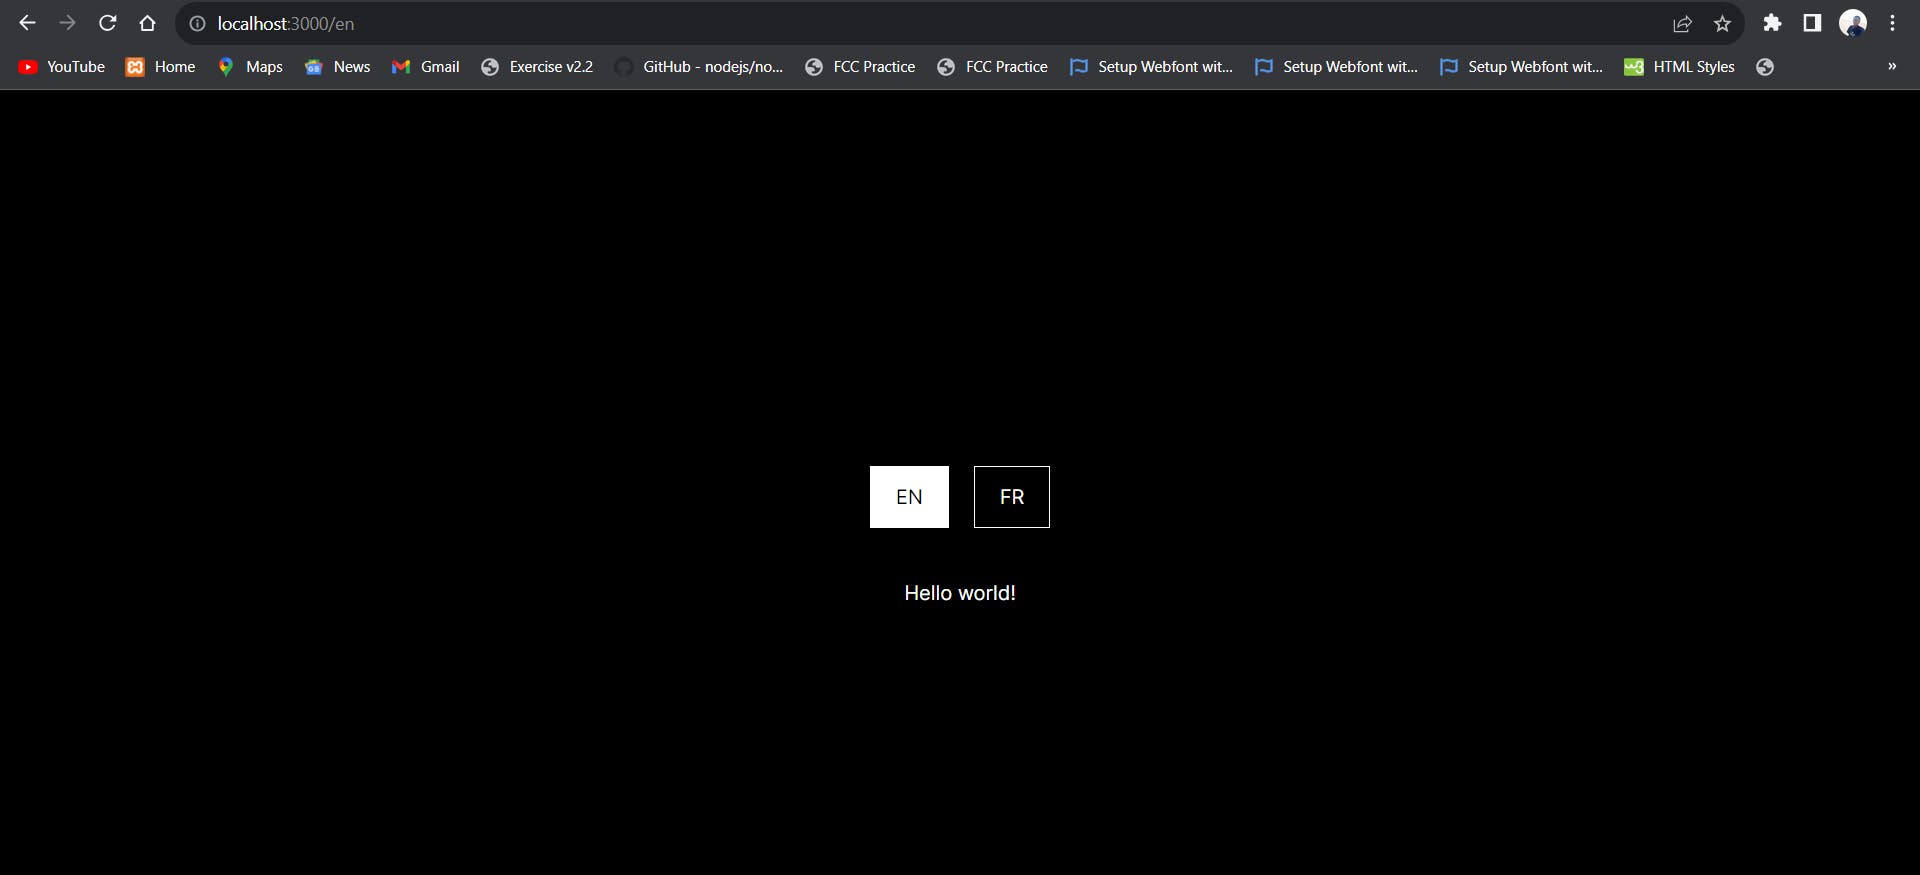
  'use client';
  import { usePathname, useRouter } from 'next/navigation';
  import { startTransition } from 'react';
  import { Locale } from '../../../i18n-config';

  export default function LocaleSwitcher({ locale }: { locale: Locale }) {
      const pathname = usePathname();
      const router = useRouter();

      const redirectedPathName = (language: string) => {
          if (!pathname) return '/';
          const segments = pathname.split('/');
          segments[1] = language;
          const newUrl = segments.join('/');
          startTransition(() => {
              router.push(newUrl);
          });
      };

      return (
          <div>
              <div className='flex items-center space-x-5'>
                  <button
                      className={`border border-white px-5 py-3 ${
                          locale === 'en' && 'bg-white text-black'
                      }`}
                      onClick={() => redirectedPathName('en')}
                  >
                      EN
                  </button>
                  <button
                      className={`border border-white px-5 py-3 ${
                          locale === 'fr' && 'bg-white text-black'
                      }`}
                      onClick={() => redirectedPathName('fr')}
                  >
                      FR
                  </button>
              </div>
          </div>
      );
  }
The component above is going to display two buttons that will serve as our language switcher.
Finally, Open your browser and you should have a running app like the below. You can click on the buttons to change language.
That's all about creating a custom translation using Nextjs 13 and the App router. For more information you can visit the official docs and the complete code for this implementation can be found here.
Conclusion
Our journey with internationalization in Next.js 13 has not only expanded our language support but also broadened our global reach. By using the App router and the next-intl library, we've made our website more accessible across different languages and regions.
Thank you for joining me on this enriching voyage. Here's to a future where language is no longer a barrier, but a stepping stone to a more interconnected world. You can also reach out to me on my LinkedIn.